
Here’s a simple sourdough bread recipe which I have found works in my overlanding kitchen. The notes are from my limited personal experience and from extensive reading of various blogs/pages on the inter-web.
Frustratingly, no two cookery-blog websites offer the same advice. If you want to be a ‘sourdough guru there are plenty of waaaay more complex recipes out there. This is a simple one that I’ve adapted to the restrictions of my limited overlanding kitchen.
But first you’ll need to get your hands on some starter-culture. I got lucky and another overlander generously gave me a little pot. See here for how I maintain overlanding sourdough starter living on the road.
I have set out the basic ingredients and simple instructions for the simple sourdough bread recipe, with hyper-links to my notes clarifying the detail.
Ingredients
- 150g starter
- 500g flour
- 250g warm water
- 25g olive oil
- 10g salt
Instructions
- Mix starter, water & oil in large bowl, add flour/salt gradually and mix until smooth
- Rest the mix for 30 mins
- Work the dough gently with hands (30-60 secs) and form a rough ball in the bowl
- Cover and leave to rise – 3-12 hrs – (see notes below)
- Place on a floured surface, gently turn it to lightly coat the surface
- Stretch/fold the dough and shape ready to bake
- Put in baking pan/tin/sheet, cover and leave in a warm place 1-2 hrs to rise again
- Score/slice a cut across the top with a sharp blade
- Bake in pre-heated oven on high heat 40-50 mins
Notes on Ingredients
- starter – it must be the ‘100% starter‘ type and ‘active’ (click here for more info on these)
- flour – apparently strong white, special bread flour, will give best results. However it’s hard to find when travelling in many countries, so I used normal ‘all purpose’ flour which came out fine. Also there are recipes out there for wholemeal… rye… all sorts of fancy stuff. I’d like to try that one day. But let’s not try to run before we can walk… eh?
- water temperature – some recipes advise using a thermometer to measure specific temperatures. If you travel with one in your first aid kit… great. I just use the water when it feels slightly warm to my finger. Seems to do the job!
- water type – many recipes specify ‘filtered’ or ‘spring’ water. I don’t know what’s wrong with ordinary tap water or whether it’s important. If you happen to be parked-up by a spring… happy days! But the water from the tap in our truck feeds through a 0.5micron filter, so I use that. No probs so far!
Notes on Instructions for Simple Sourdough Bread
Stage 2 – Resting: geeks apparently refer to this stage as ‘autolysing’. All very technical… Google it if you want to know the science about the effect on the development of the culture.
Stage 3 – Working the dough: it’s quite sticky and different to ‘regular’ bread dough. This is apparently ‘normal’ for sourdough, don’t add loads of extra flour to dry it out.
Stage 4 – Rising: The inter-web says this can happen over anything between 3-12hrs. A shorter time in a warm temperature or a longer time in a cool place. Overlanders in different climates will need to use a bit of guess-work. I’m in a temperate climate at the moment and leave it in the front cab of the truck overnight. If you’re in a hot place and want to leave it overnight in higher temperatures, I think it might be best to put it in the fridge over 12 hrs.
It should rise to around 1 ½ – 2 times its original size, so make sure there is room in the bowl. It needs to be covered to stop it drying out. Some say use a wet tea towel, others say use cling-film (really?? An environmental no-no!!). I cover the bowl with a wax-cloth that I happen to have, then put the bowl in a plastic shopping bag (reusable… honest!!) and twist it tight to keep the moisture in. Make do with whatever you have, but remember the dough is very sticky, so the cover needs to be high enough that the rising dough will not touch it. If it touches, it will leave a very sticky mess (trust me, I learned the hard way 😊)!
Stage 5 – Flouring: This makes the sticky dough easier to handle. At this stage, split the dough into two if you want two small loaves. Handling the dough will cause much of the air to escape from the rising, which (I’m assured!) is fine. But it should be handled gently and lightly so as not to bash all the air out of it.
Stage 6 – Stretching/Folding: gently stretch the dough upwards and fold it down over itself, 4 times, each time turning the dough a ¼ turn. Again, the aim is not to knock all the air out. Finally, turn the dough over so that the folded bit is underneath, and finish by ‘cupping’ it gently in your hands to leave a smooth ball with a rounded shape on top.
I have read that with the stage 4 (the first rise) you can do this same stretch-fold exercise once an hour or so to make the bread ‘stronger’ (I have no idea how bread can be ‘strong’. Will it lift weights???). If , like me, you do this rise overnight you probably won’t bother setting an alarm and getting up every hour to do this!
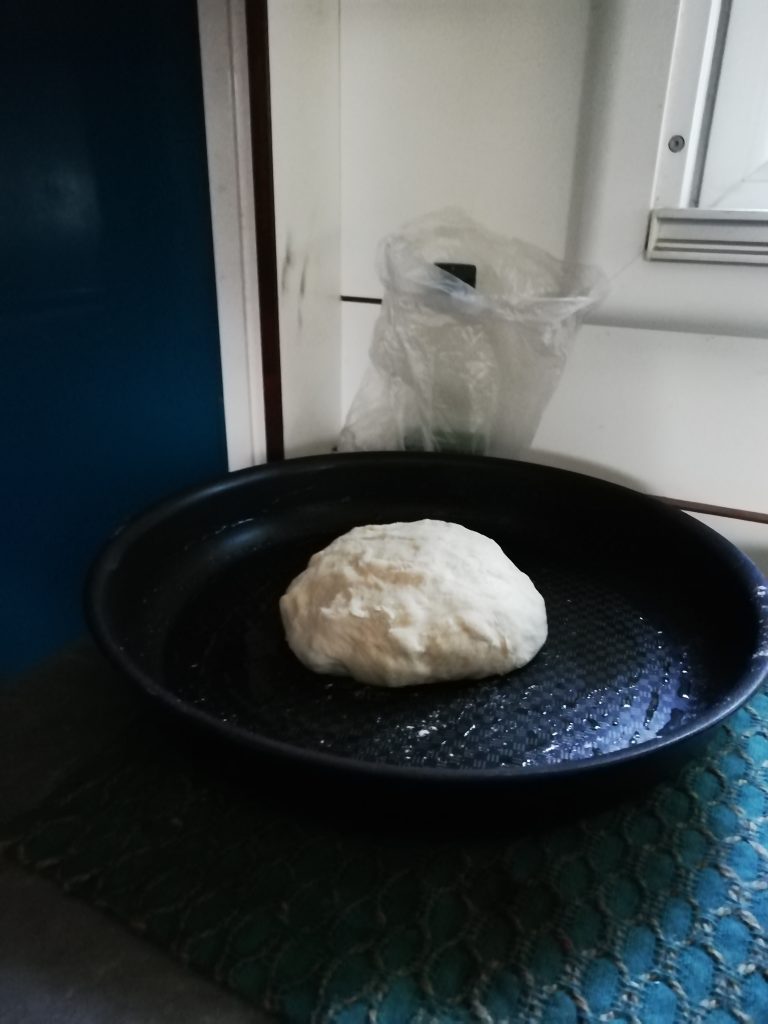
Stage 7 – Baking tin/pan/sheet, 2nd Rise: Overlanders need to improvise here; most of us don’t have the space for a range of special baking tins! I use my regular non-stick frying pan as a makeshift baking tin (from the Tefal Ingenio range with a removable handle – a brilliant set).
The second rise (in the pan) is for 1-2 hrs. It won’t rise as much this time as the first time. It should just puff-up a bit. I have read that it is possible to ‘over rise’ the dough at this stage and it could lose its ‘energy’ for cooking, but I don’t worry about this too much. I’ve done mine for around 3 hrs before baking and it didn’t seem to suffer.
Stage 8 – Scoring the top: skip this stage at your peril!!! It’s important to let air into the dough and moisture to escape. You need a pretty sharp blade to cut through the surface and not to just drag the dough.
Stage 9 – Baking: As overlanders, we get the fun of improvising here. We can only use trial and error with our ‘less than conventional’ baking methods. I have the luxury of a small gas oven in the truck, but it has terrible (i.e. non-existent) temperature control. It is basically on ‘high’ or ‘off’. Luckily, the bread needs a high heat, so I just put it on max. Some recipes say to cover the bread with a lid for some of the baking time, but I found the crust was better if I left it uncovered for the whole time.
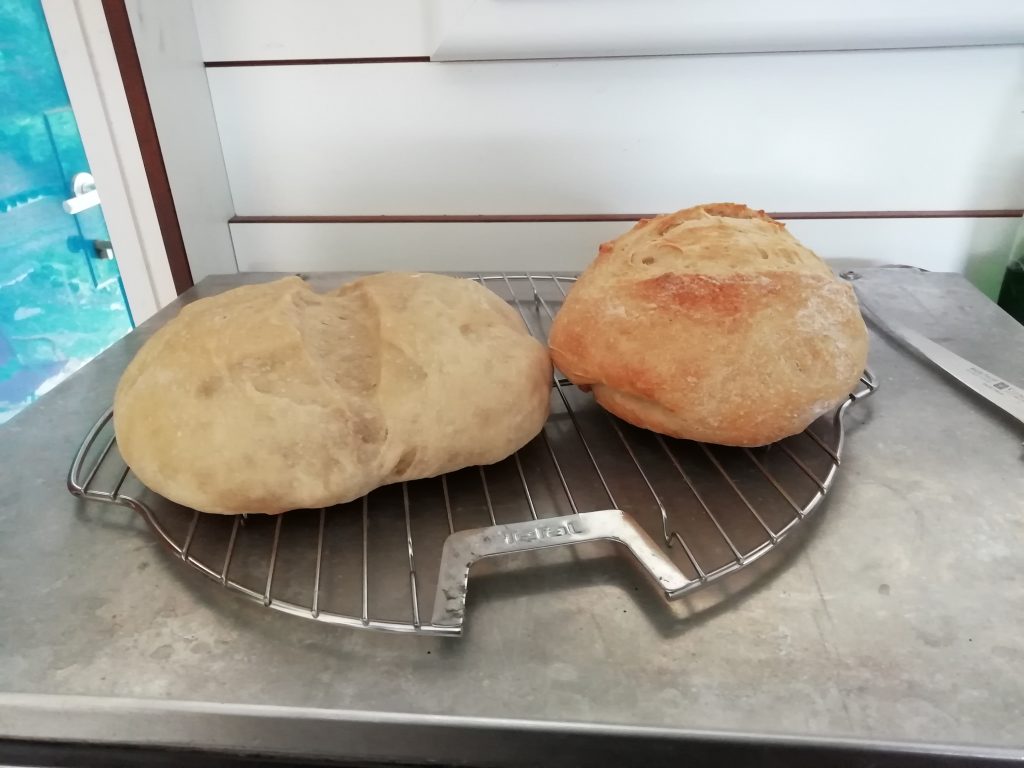
Timing – I found 40-50 mins is about right to get a golden crust in my oven, but you need to work out what works for your oven. The test is to tap the loaf on the base. If it sounds hollow, it’s done. You can also stick a blade/skewer in to see if it comes out clean.
Crust – Some recipes say the crust develops better if you create some steam in the oven by adding a tray with water. At first I tried creating steam throughout the baking by topping-up the water when it evaporated. But I later found it worked better to create a bit of steam at the start; just one tray of water at the beginning and not topping it up once it had evaporated. Again, you’ll have to use trial an error for your own ‘baking system’.
Baking system – Of course, overlanders can always cook on fire or coals outside in a suitable location. I have also heard from overlanders that the dough can be ‘baked’ directly in a frying pan on the hob over low-medium heat (although they said the result was ‘a bit cake-like’).
Waiting – The recipes say that after baking, the loaf should be left for around an hour on a rack to cool, or it will be chewy and doughy. Really? Have they ever sat in a camper-truck surrounded by the smell of fresh-baked bread and been able to resist tasting???
There are lots of good websites for simple sourdough bread out there… Google around and see what you find, particularly about ‘feeding’ and ‘waking-up’ your starter ready to use. One of my favourites is www.theclevercarrot.com
Back to KFC (Kitchen, Food and Cooking)